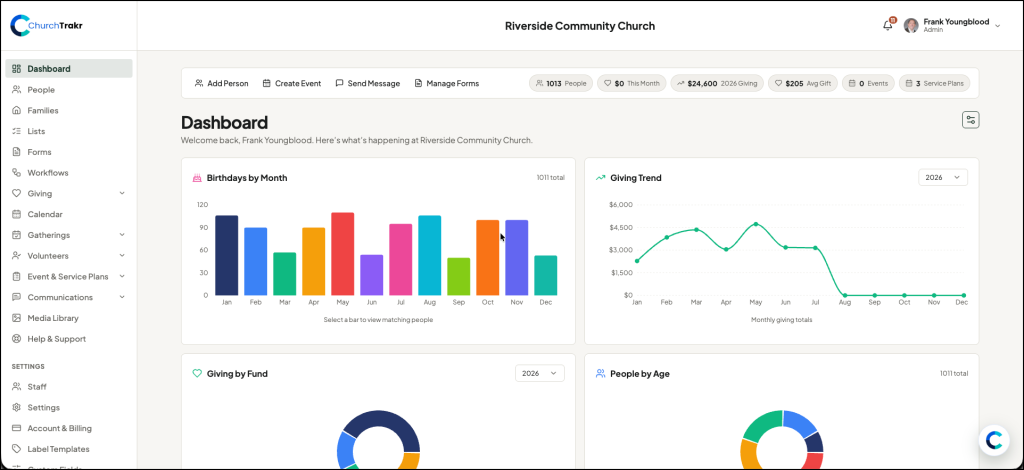
Welcome to ChurchTrakr. This guide walks you through the first steps for preparing your account and getting your team ready.
1. Review your church information
Open Settings and confirm your church name, contact information, address, time zone, and other organization details. Accurate settings help dates, communications, and public information display correctly.
2. Add the people who will help manage ChurchTrakr
Go to Staff to invite the people who will help administer your church account. Give each person only the access they need for their responsibilities.
3. Add or import your people
You can add people individually from People, or use the import option when moving an existing list into ChurchTrakr. Review names, email addresses, mobile numbers, and family relationships after the import.
4. Review your main ministry areas
Explore the areas your church plans to use first, such as Forms, Giving, Calendar, Gatherings, Volunteers, Communications, and the Church Portal. You do not need to configure every feature before launch.
5. Test before inviting everyone
Create a few sample records, submit a test form, send a message to yourself, and preview the Church Portal. Testing with a small staff group makes it easier to correct settings before inviting your full church.
What should I set up first?
Most churches should begin with People, Families, Staff access, basic church settings, and the features they plan to use immediately. Additional features can be introduced gradually.