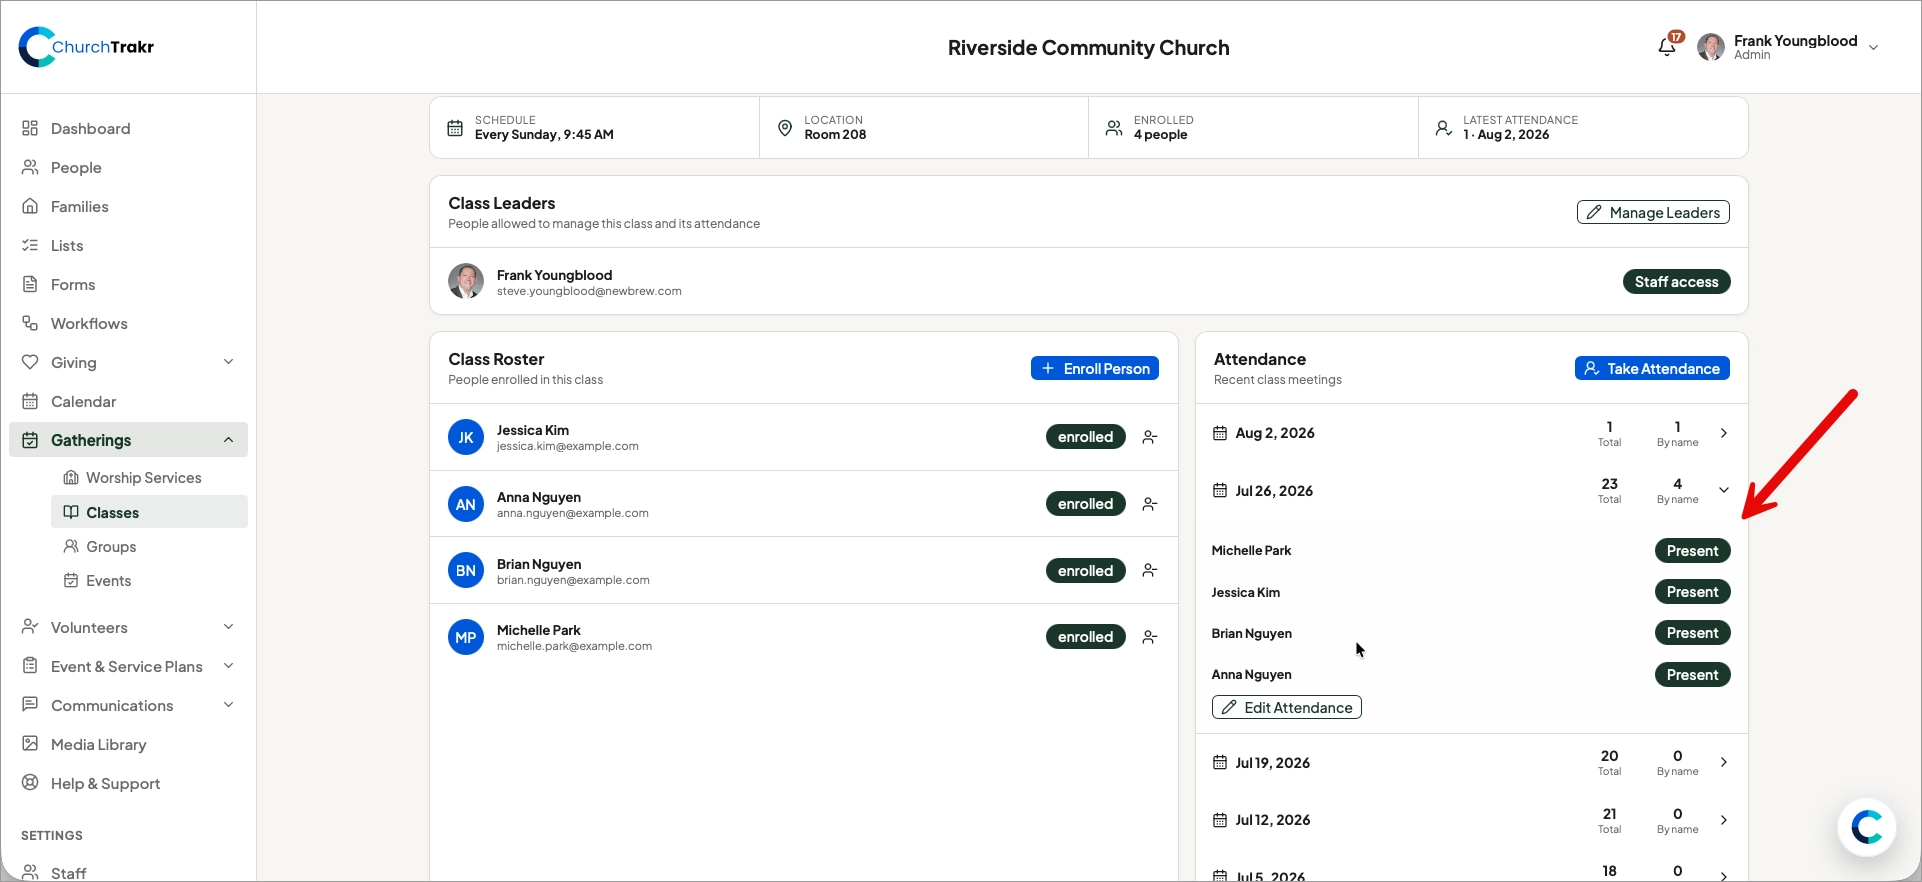
ChurchTrakr supports named attendance and headcount-only attendance. The method available for a class depends on its settings.
Take attendance in ChurchTrakr
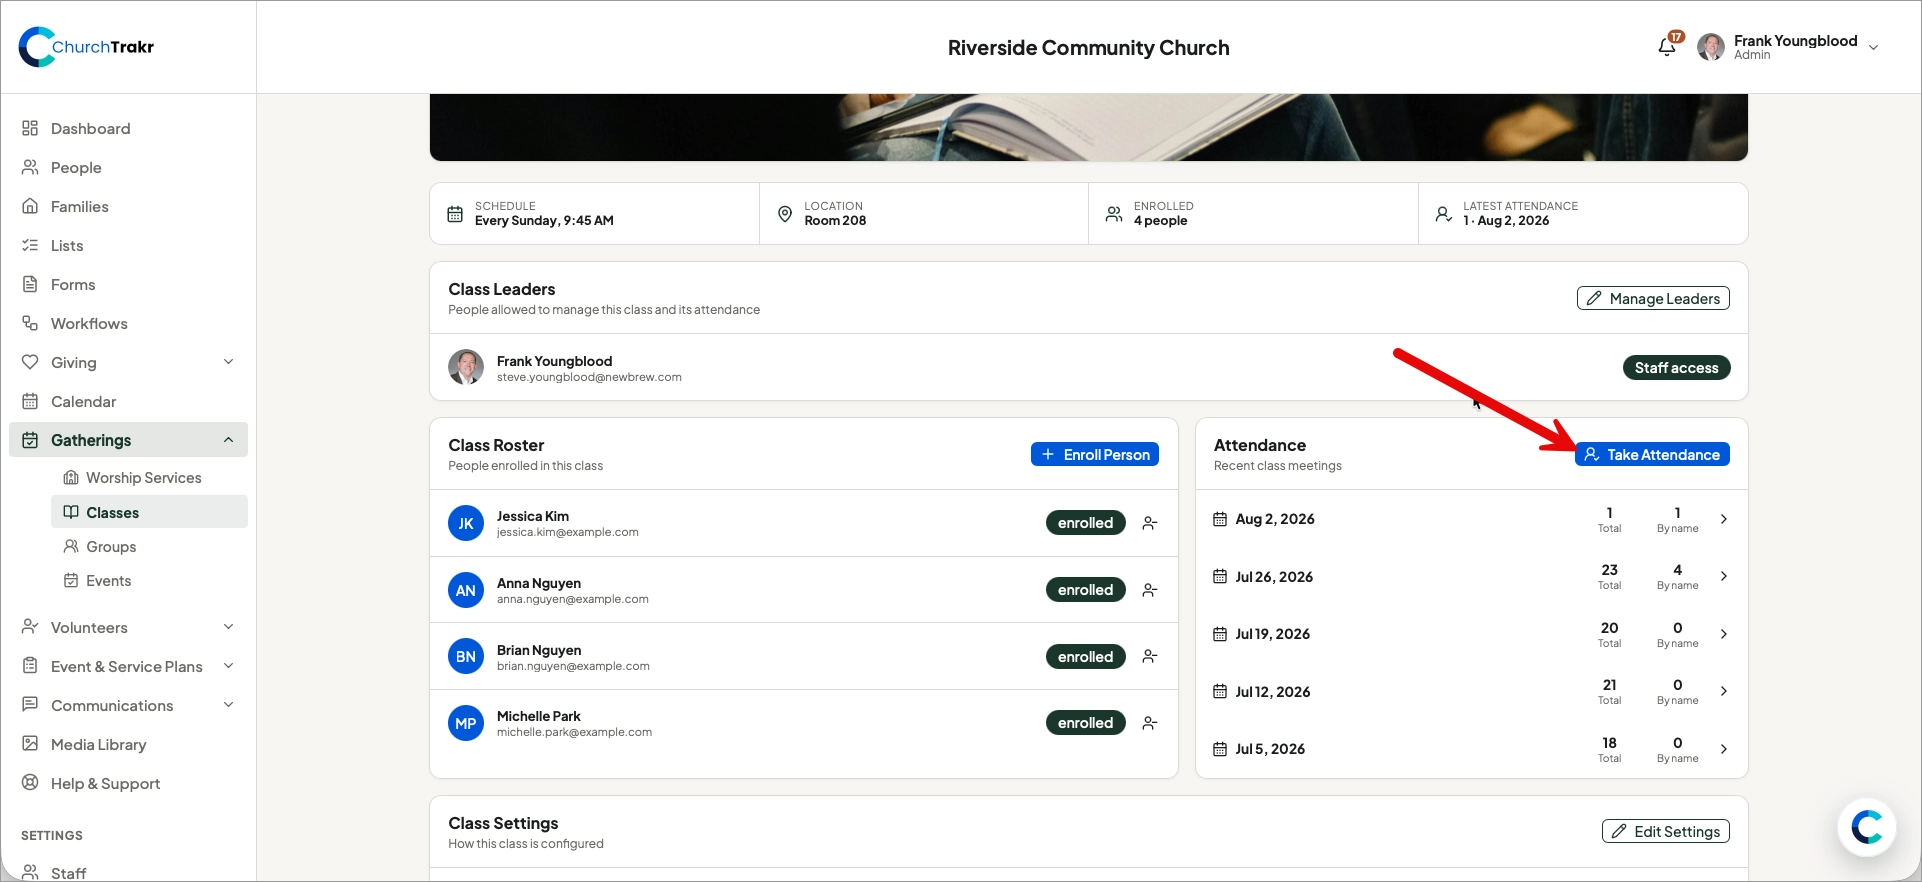
- If the leader of the class is a ChurchTrakr user, they can open Classes in ChurchTrakr and select the class.
- Go to Attendance and Take Attendance for the current upcoming class, by name or mark headcount. Or..
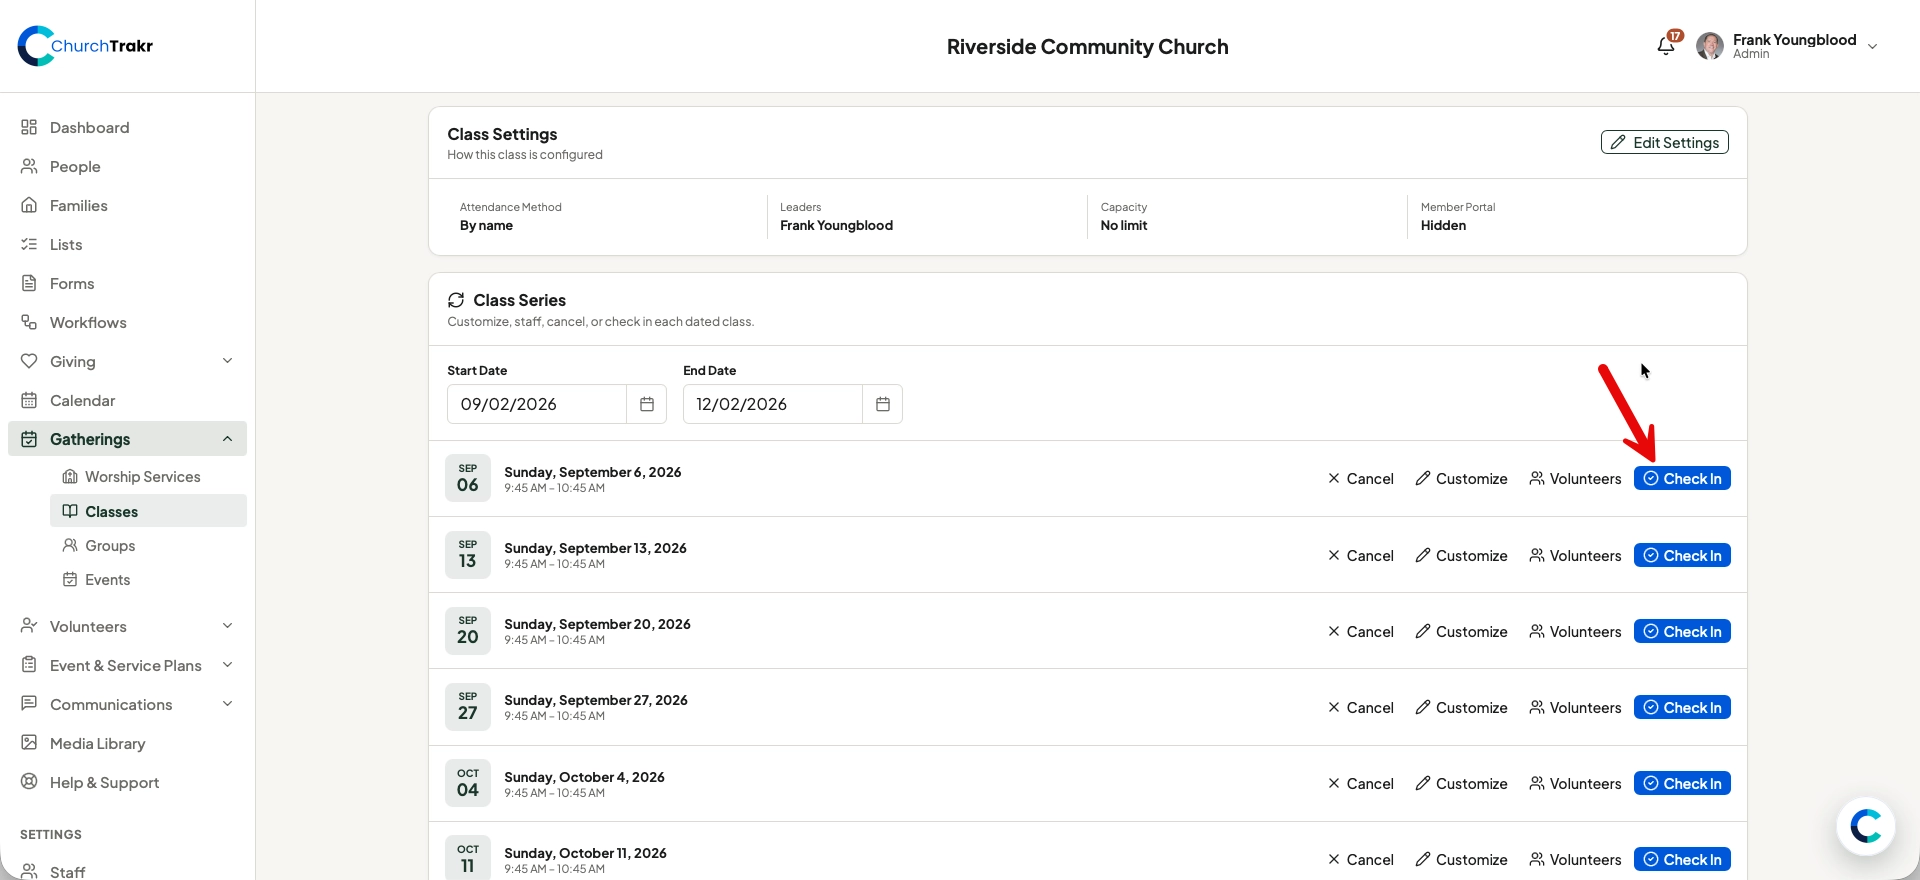
- Open Check In for the current occurrence in the series and check in people by name or add total headcount.
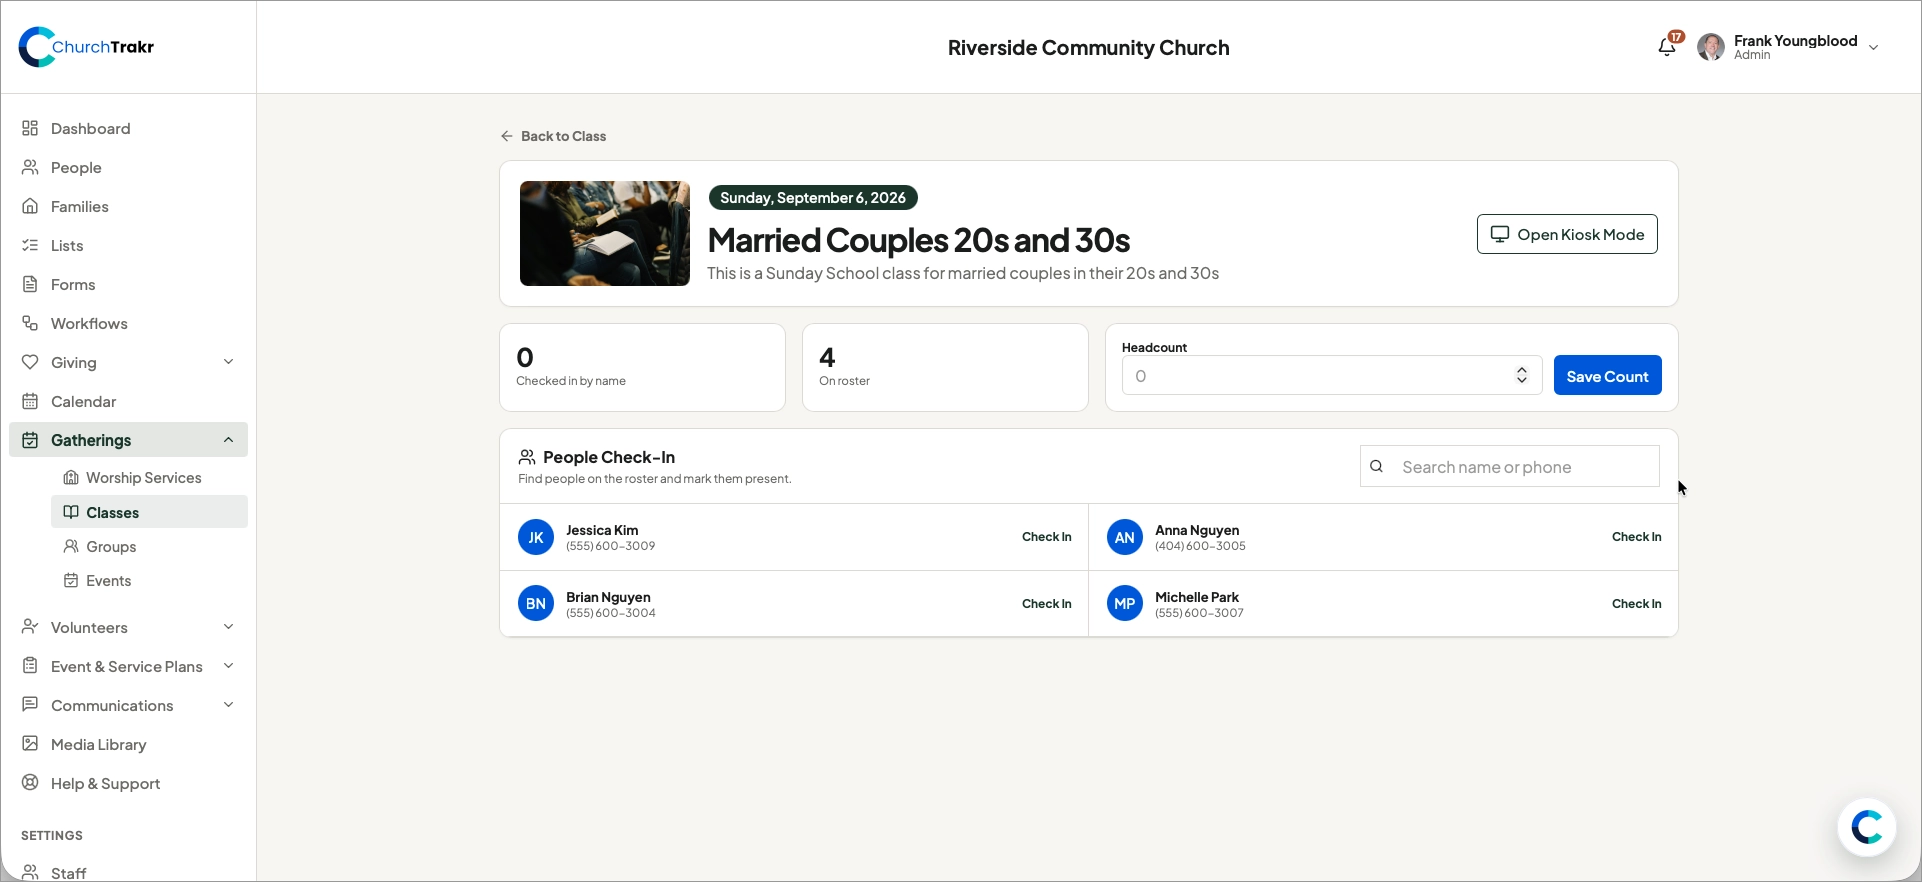
- For named attendance, search the roster by name or phone number and mark each person present.
- For headcount-only attendance, enter the total number present.
- Save the attendance.
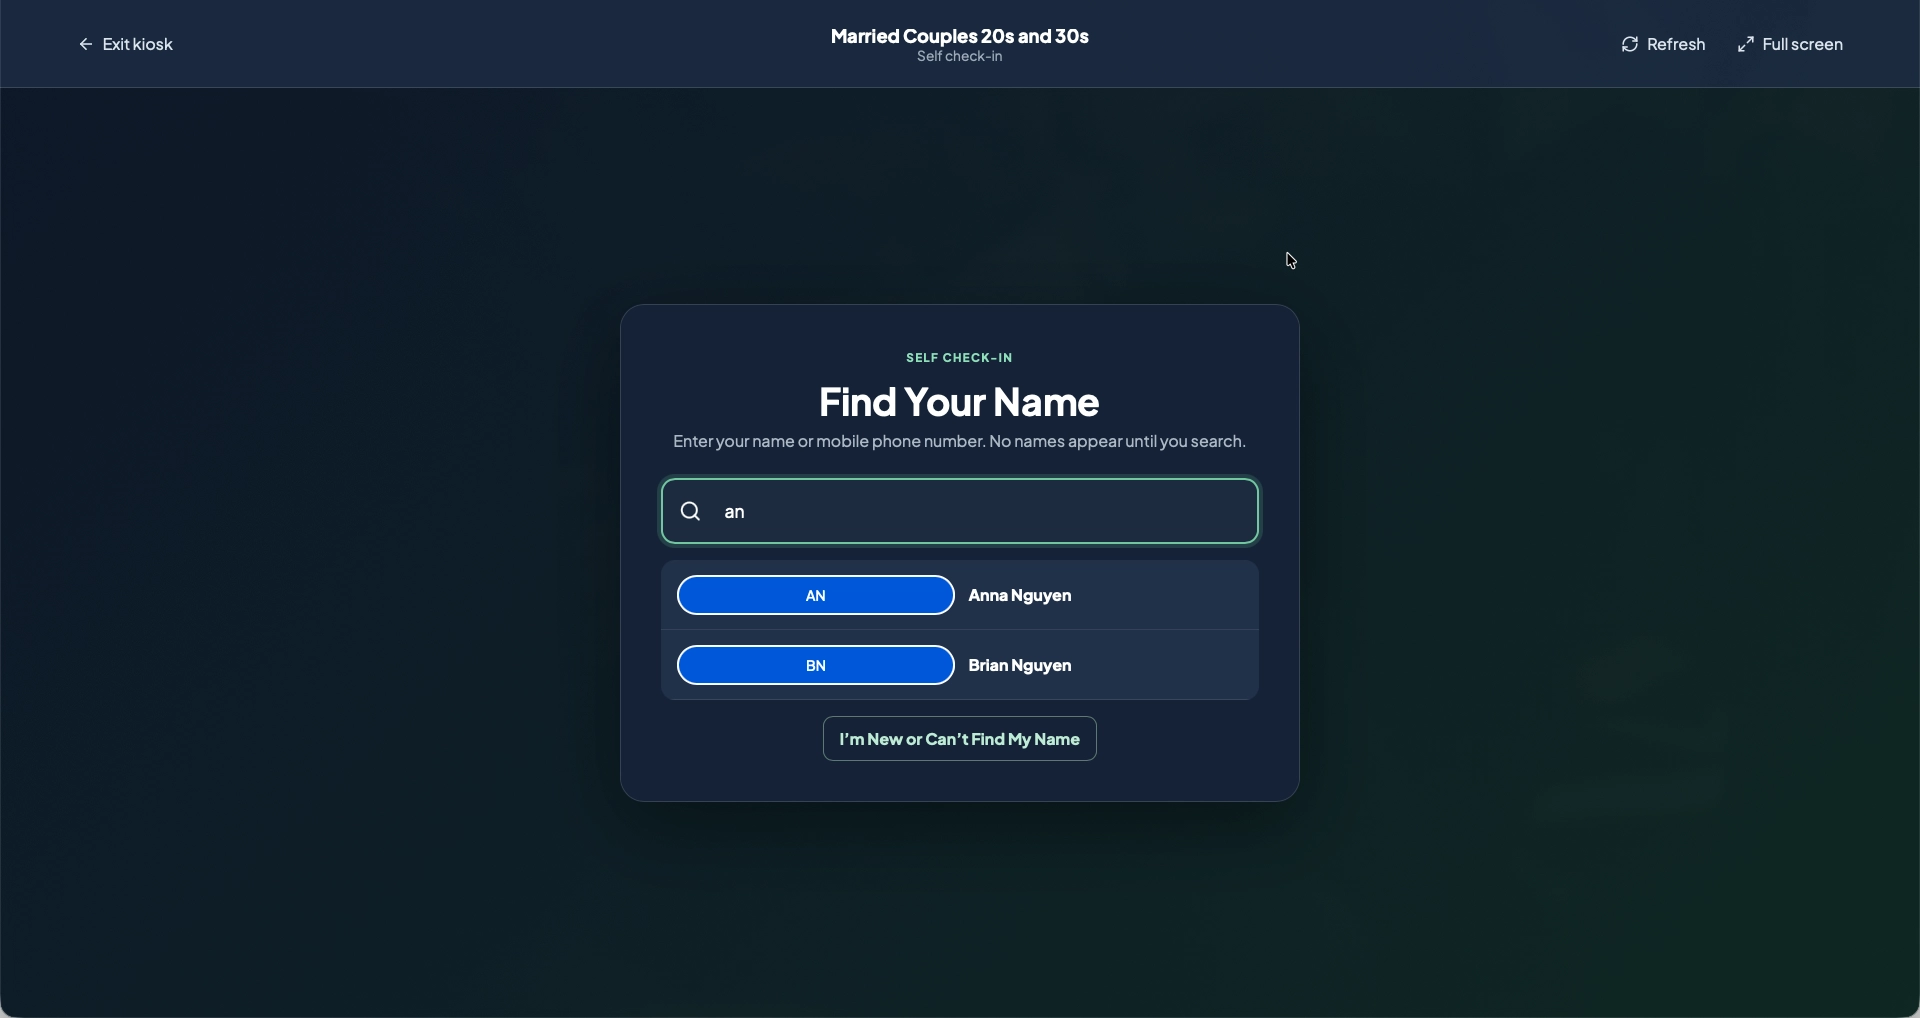
Self Check-In.
- If the leader of the class is a ChurchTrakr user, they can open Classes and select the class.
- Open Check In for the current occurrence in the series and click “Open Kiosk Mode”
- This opens a screen that can be put in full screen mode and viewed by attendees on a laptop, desktop or iPad.
- Attendee enters their name or phone number and can find themselves and check-in.
- Guests or new attendees who aren’t yet enrolled can enter their name as attended.
Review attendance history
The class details page includes attendance history for previous meetings, including total and named counts when available.
Tip: Confirm the meeting date before recording attendance so the results are attached to the correct occurrence.